HOW TO: FERMENT ANY VEG IN YOUR FRIDGE
Fermentation doesn’t need to be complicated. If I can do it, I know that you can too - plus you get to clear up any food waste and create a healthy gut!
I’m not really a make-it-all type of person. I wish that I was but I find that I’m time poor (it’s probably organisation more than anything else, but we will just leave it as time poor for now!). One thing though that I really struggle with and drives me a little crazy is food waste. Food waste around the world is a pretty big deal and if you feel a little guilty thinking about what’s in the bottom of your fridge, or the back of your pantry, you are not alone. Here in NZ the average food waste per household is estimated to be around $1,520 each year. We throw away over 122,547 tonnes of food a year – enough to feed around 262,917 people, or half the population of the Wellington region for 12 months. With the cost of food right now, that’s a bitter pill to swallow.
It’s with this in mind, along with my latest obsession, fermentation, that I wanted to see if there was a way that I could save some of those very, very sad veggies that are sat wasting away in my fridge. Knowing that I could not only avoid the waste, but create something that could feed the armies of microbiome in my tummy (hello outrageous healthy, I see you waiting to pop out!), was a wonderful incentive to give it a go. I’m going to share with you my hunted down DIY method of extending the shelf life of healthy produce, improving your immune and digestive systems. You are welcome!
GET CREATING
EQUIPMENT
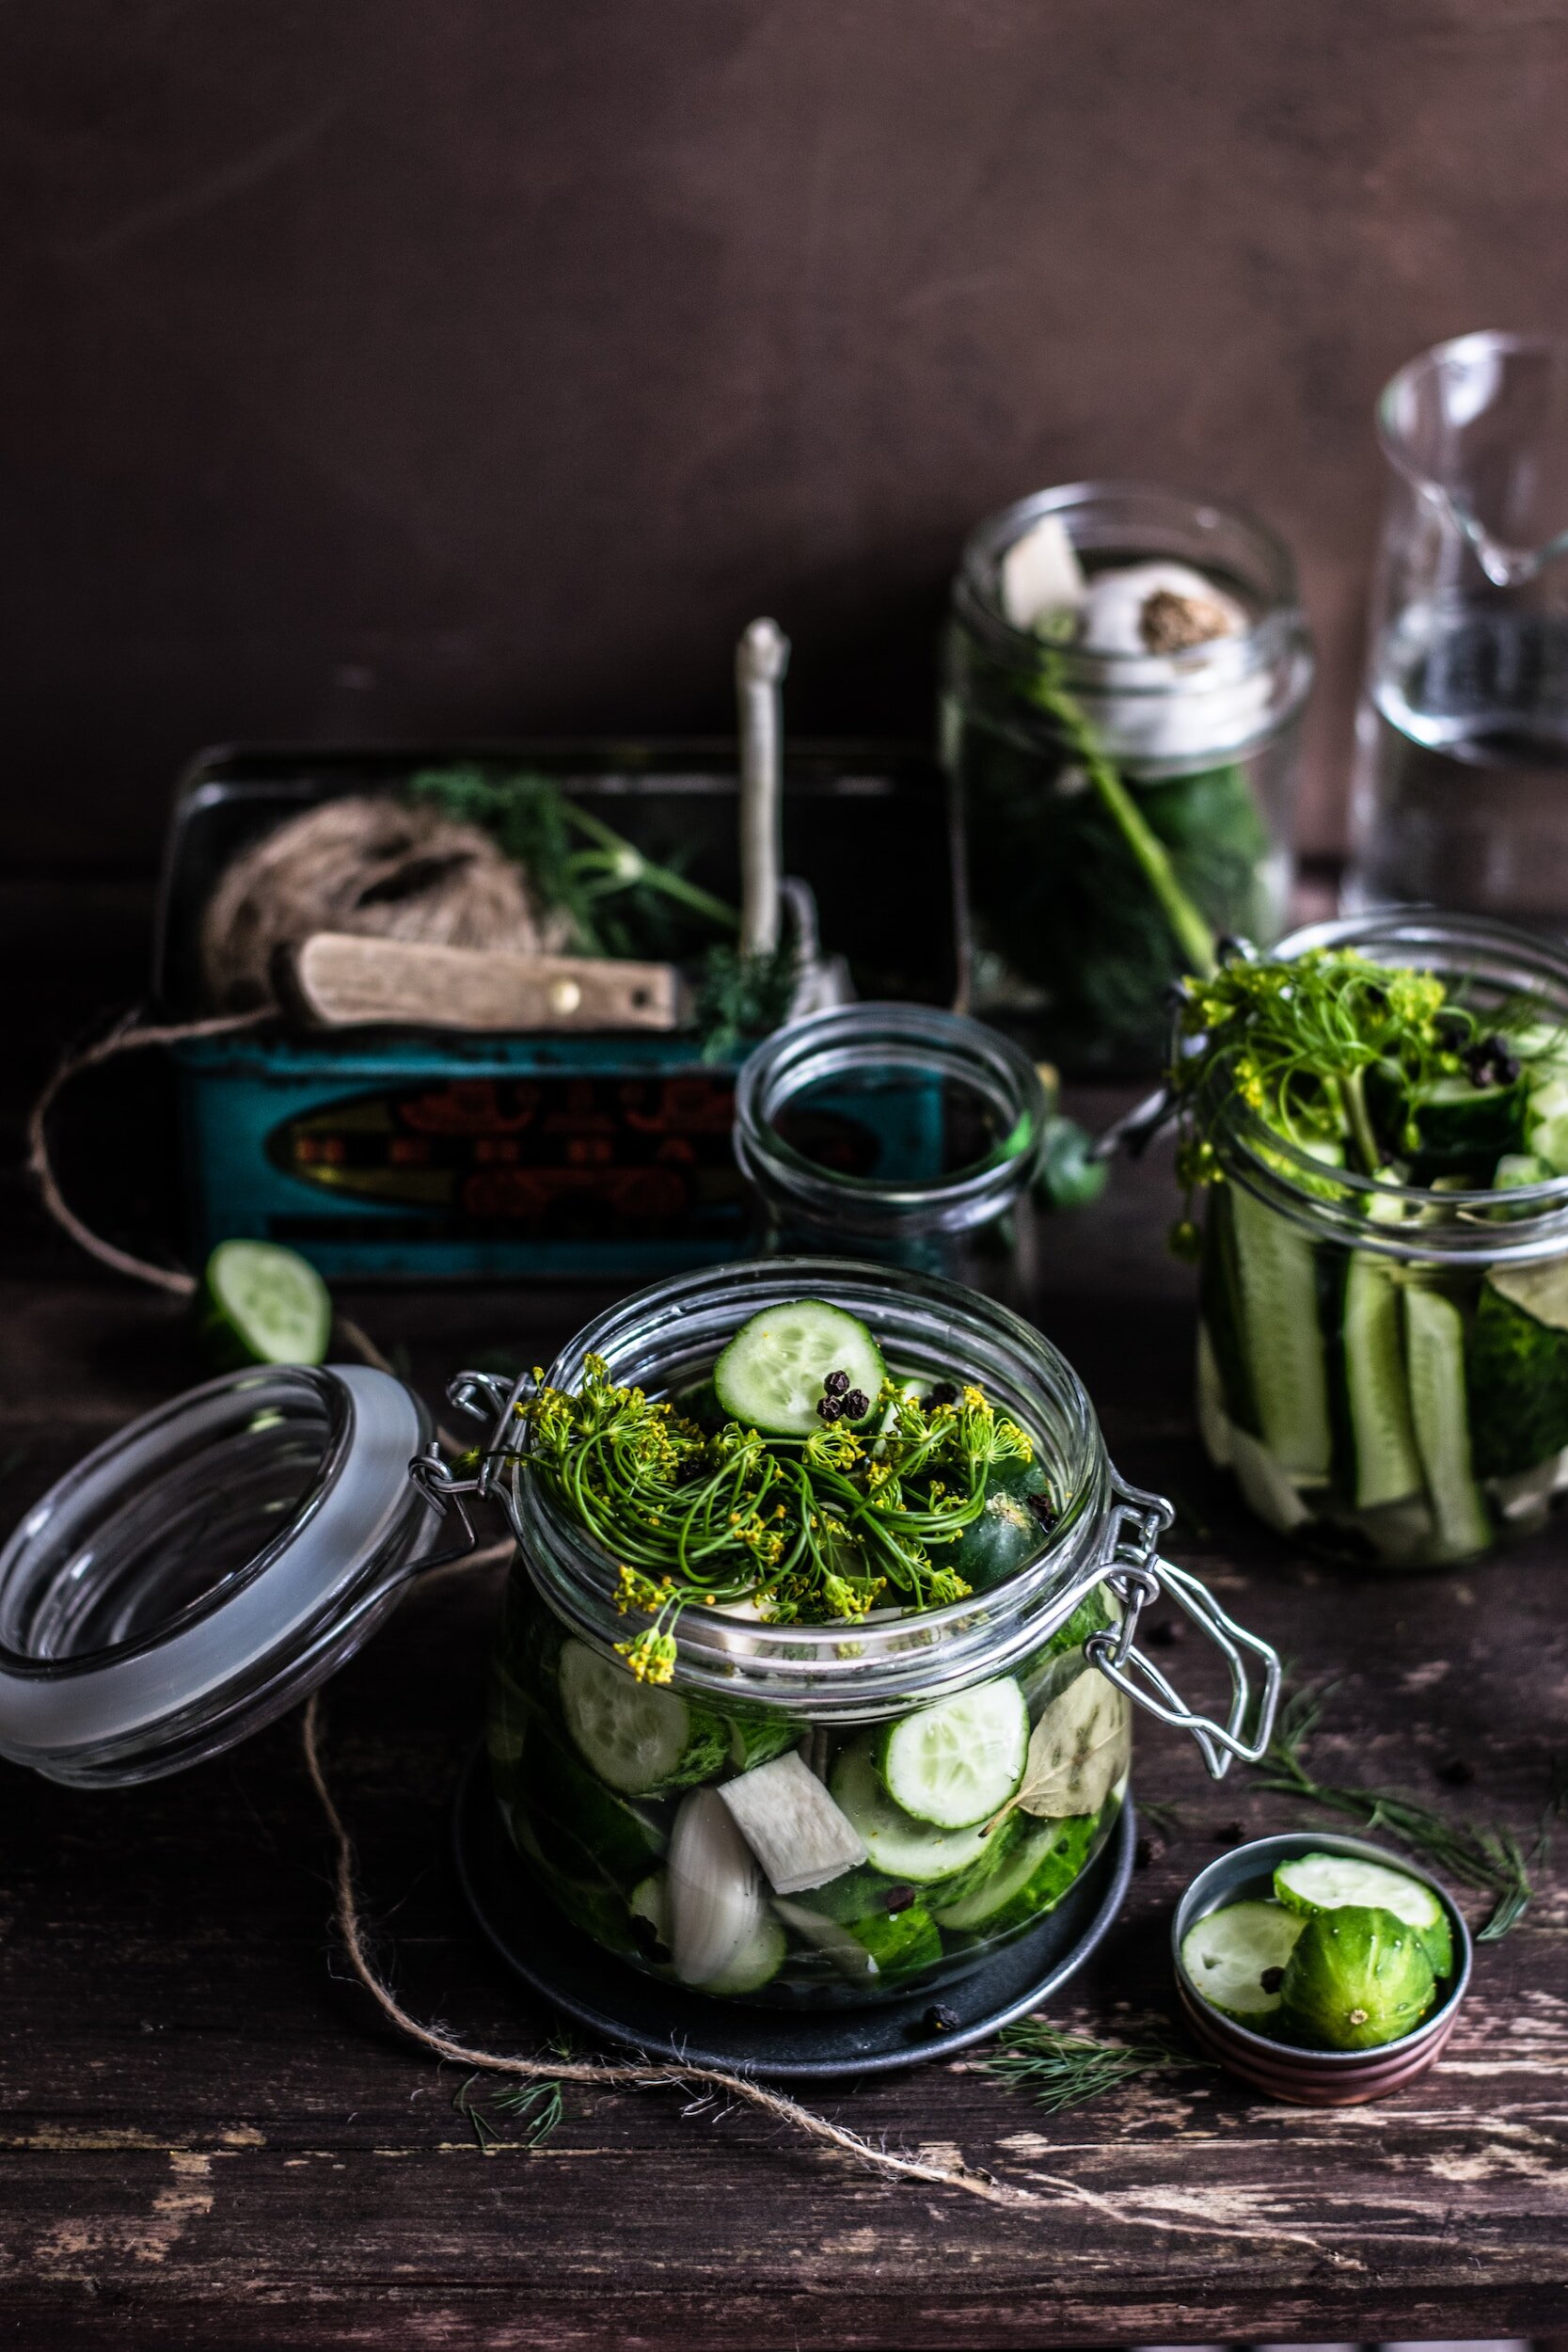
Sterilised wide mouth jar - mason jar
Cheese cloth & elastic band
Small fermentation weight or a little plate that can fit inside your jar to hold everything down. I’m not going to lie, I have used (a washed!) stone.
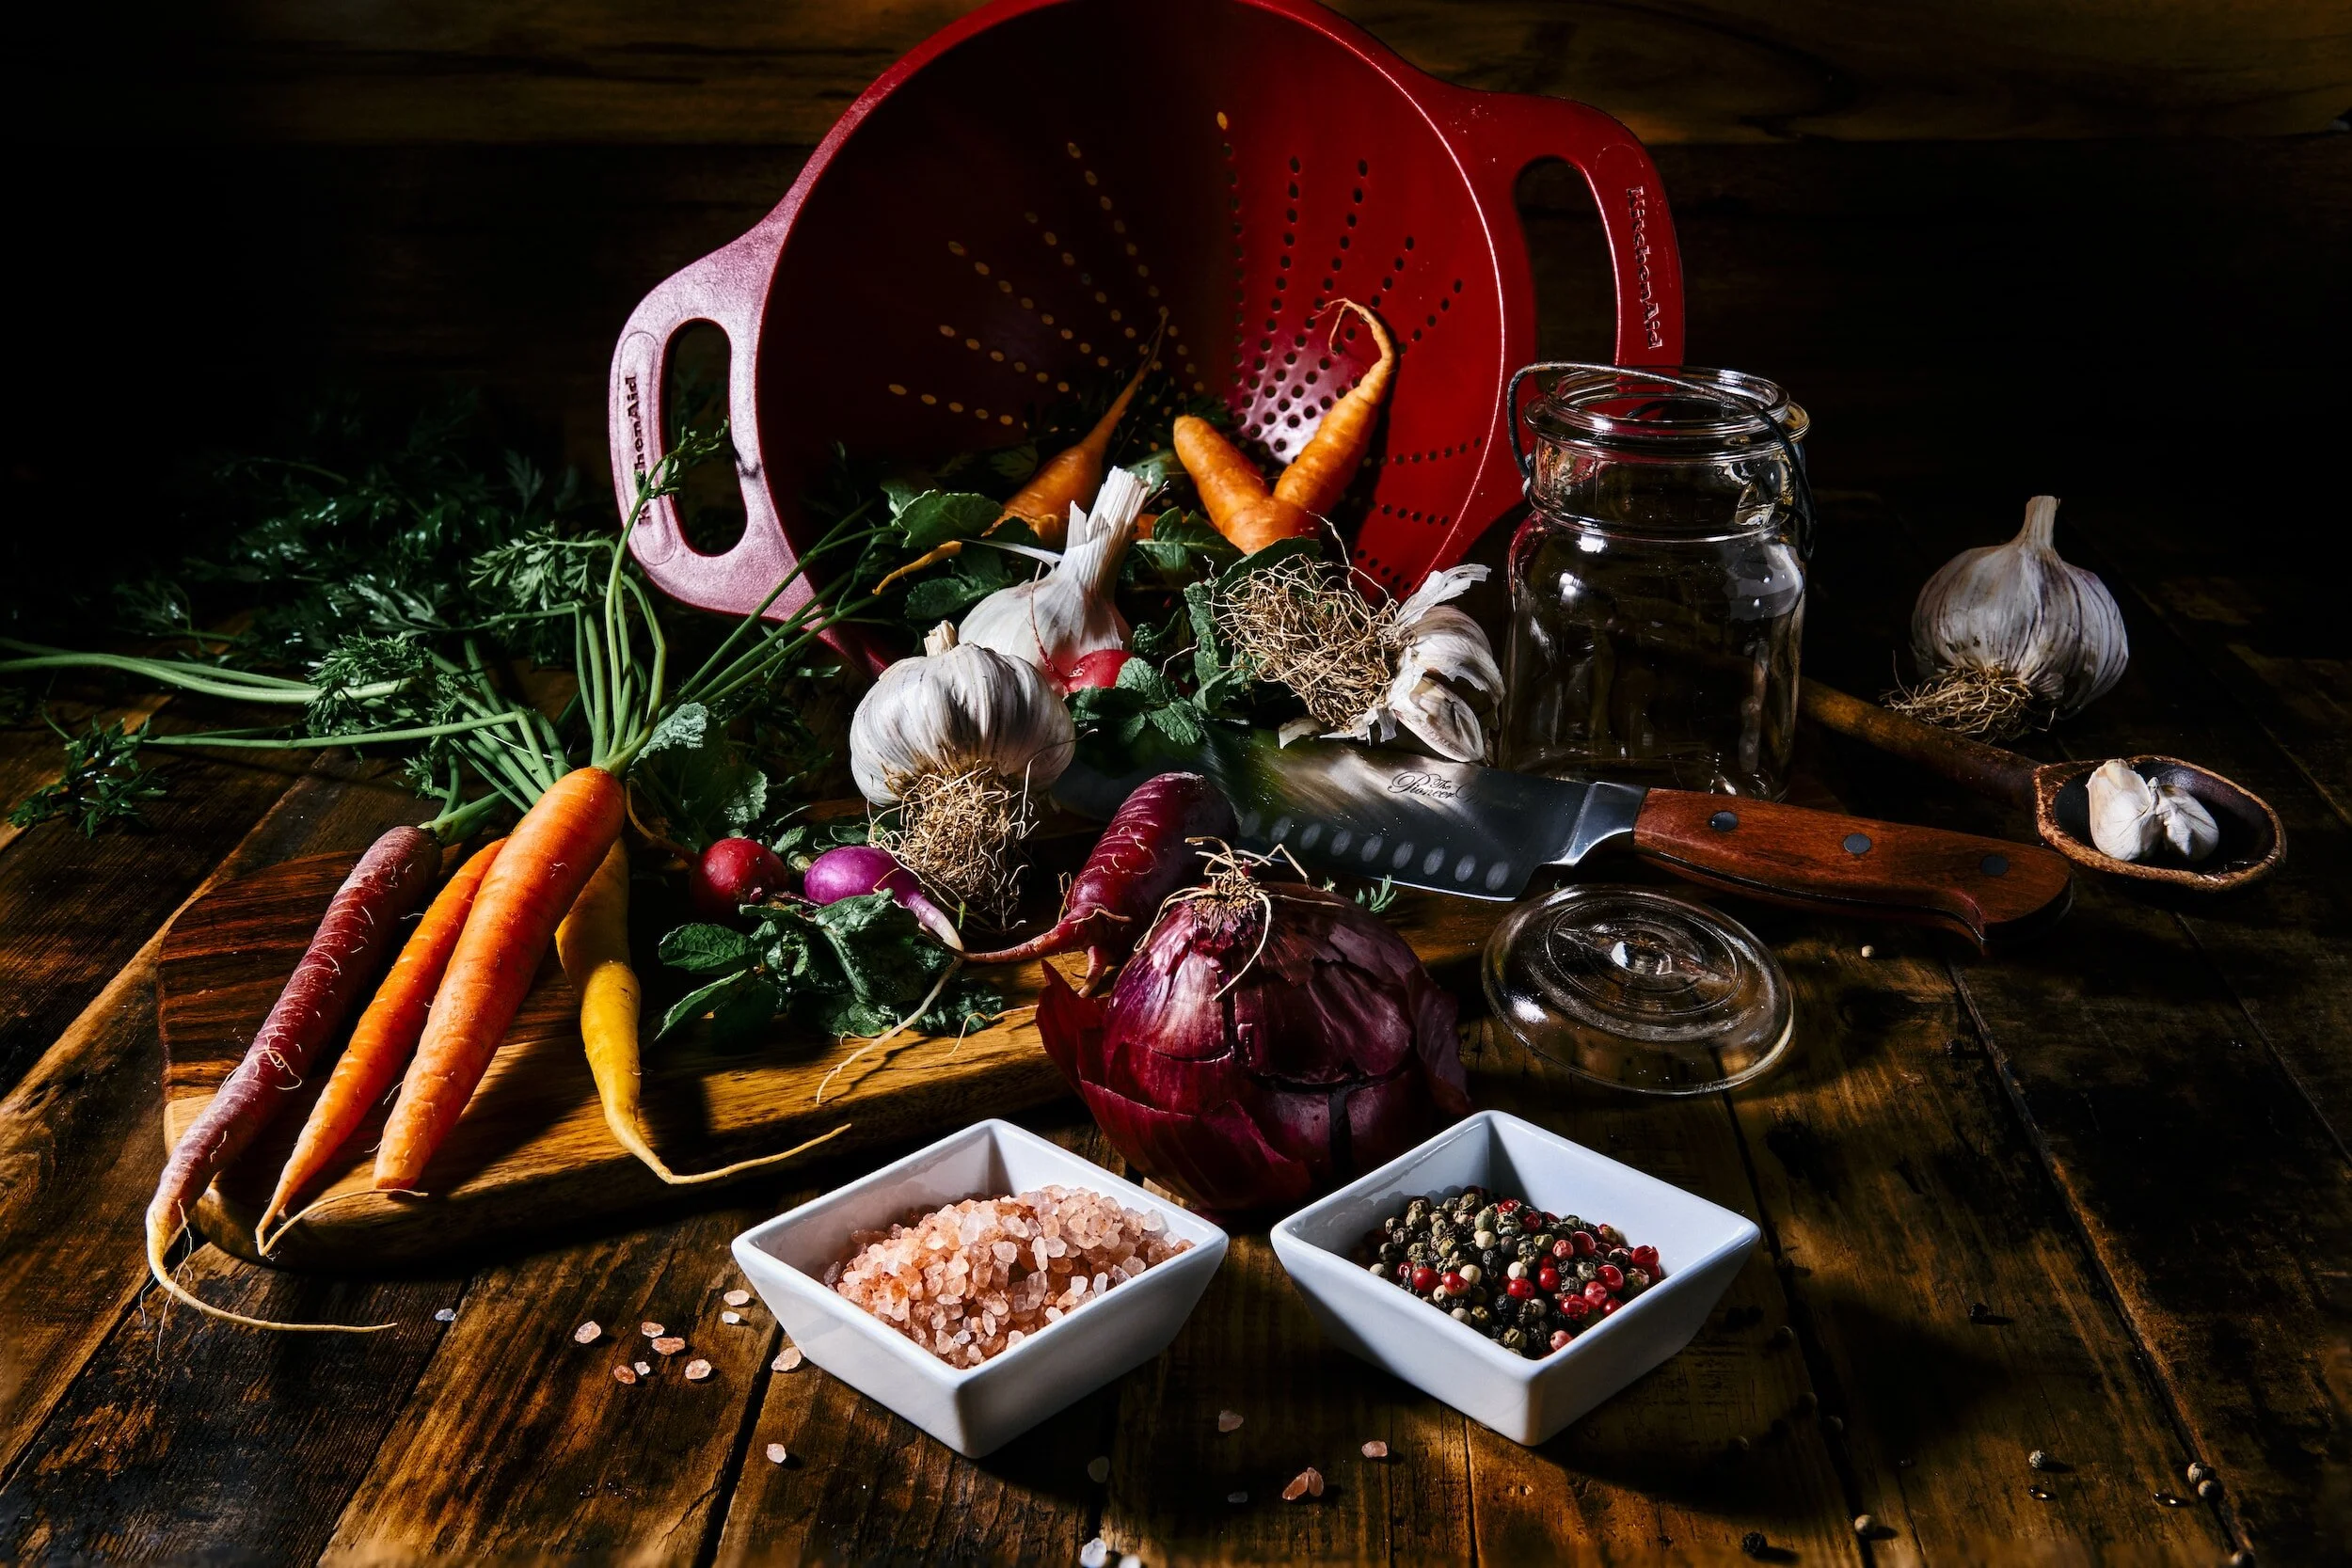
INGREDIENTS
Grab whatever veg you’ve go at hand. Peel and dice into chunks, all roughly the same size. You seriously can use anything, radishes, green beans, broccoli, cauliflower, asparagus, beetroot …
4 cups of water
2 tablespoons coarse sea salt
Seasonings: fennel, garlic, dill, chilli flakes, basil, turmeric - again, have a look at what you may have on hand
DIRECTIONS
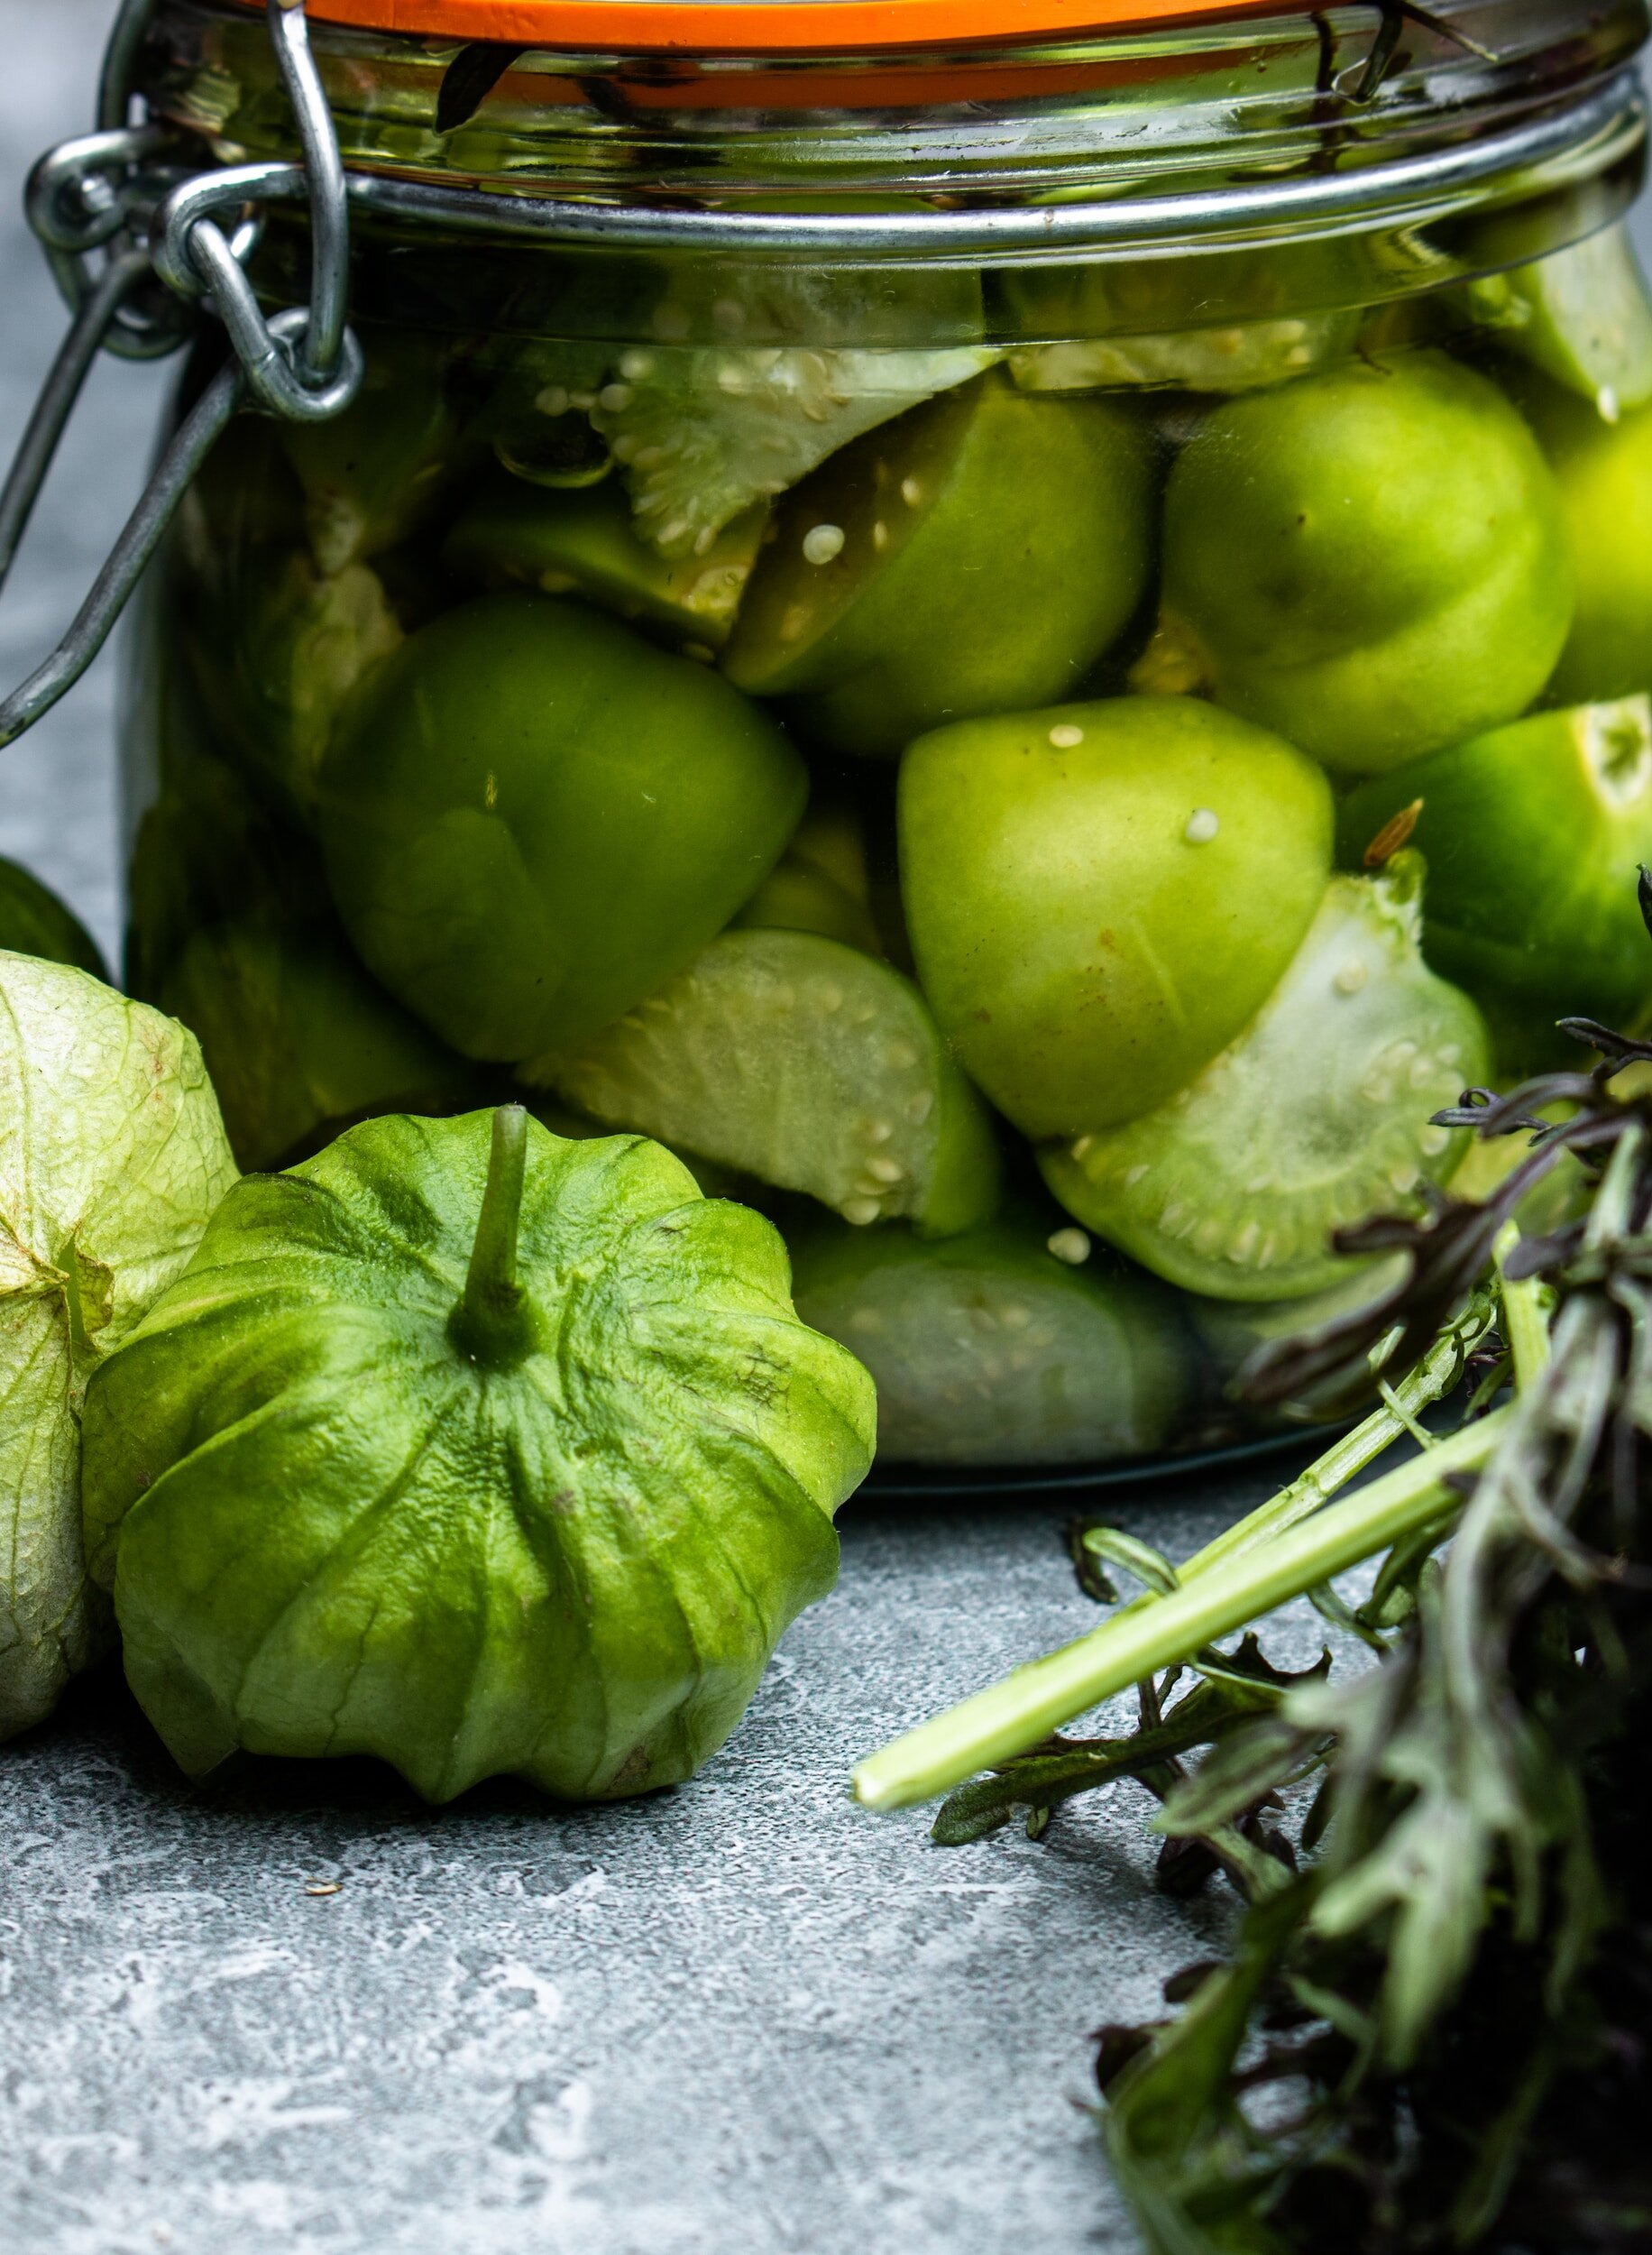
Grab a wide mouth jar (mason jar) and fill it with your cut up veg, leave about an inch or room at the top.
Add your seasonings to the jar.
In a separate bowl, mix the water and salt. Mix until the salt is completely dissolved - this is brine.
Pour your salty water (brine) mix into your jar, fully covering the veg.
Place a fermentation weight (or dish) on top of the veg. You are wanting to weigh everything down and keep it submerged - you don’t want the veg popping up.
Cover the jars with something breathable like cheesecloth, making sure to secure it with an elastic band.
Leave your jar now to ferment for two to three days, checking that the veg stays submerged.
Check back in on day two, have a little taste, you may need to leave another day if it’s not quite how you want it. Once it is ready, grab an airtight lid, remove weight and pop your newly fermented goodies in the fridge.
Eat up you clever thing. By itself, on top of your fav meals, in pasta, sandwiches … whatever your heart desires.
Now, you can absolutely purchase a fermentation kit, especially if this is something that you think that you may do often, but to start just grab a simple jar.